16 Expert Tips for Taking Stunning Travel Photos on Your iPhone
Travel photographers share their favorite products and iPhone hacks that even novice shutterbugs can replicate.
Whether you just booked a dream vacation to the wilds of Patagonia, or are simply planning to relax at an all-inclusive resort, moments spent traveling are ones you’ll want to remember forever. But if you find your iPhone isn't capturing those moments quite as vividly as you'd like, there's a lot you can do to make your photos absolutely stunning. And no, the answer likely isn't lugging around a bulky, expensive DSLR—which is rarely worth it when your iPhone has the ability to pack a truly artful punch.
We reached out to professional photographers and travel bloggers to learn their clever tricks for turning an iPhone into a professional-grade travel camera. The good news? A combination of camera hacks, phone accessories, and editing apps should yield photos that can easily compare with those taken with a pricy Canon or Nikon.
From the best packable tripods, to the phone settings that’ll make landscapes pop, to the gadgets solo travelers can use for better selfies, here's how the pros recommend you hack your iPhone camera to get incredible shots.
1. For sharper photos, use a tripod.

When I reached out to photographers to ask for their iPhone photography hacks, “use a tripod” was the most common tip I received. Phone-friendly tripods are typically super lightweight, can easily fit into your suitcase or backpack, and are absolutely necessary when shooting photos that tend to be ruined by shaky hands (think long exposures, low-light photos, and nature shots).
There are tons of great options on the market, but here are some phone tripods specifically recommended by travel photographers:
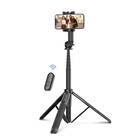
Gahenwo 64-Inch Selfie Stick Tripod with Remote
Travel and fashion expert Nneya Richards swears by “the size, durability, and cost” of the Gahenwo 64-inch tripod, which helped her capture this epic photo in Thailand. “I always set the photo on ‘Live’ so I can get the best shot out of a few different movements,” she says. The tripod fits most iPhone models, and it comes with a remote control for additional control (and selfies).
Joby GorillaPod with Phone Mount
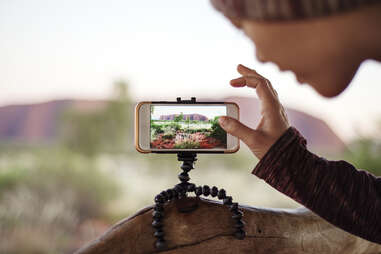
Raymond Cua, founder of Travelling Foodie and Journey Traveler, prefers the Joby GorillaPod for its “form factor and adaptability for unique photography scenarios.” This popular tripod has flexible, spider-like legs that can be bent into any shape you want. Wrap it around tree branches or railings to take pictures from any angle.
DJI OM 5 Smartphone Gimbal Stabilizer
If you want to capture professional-level videos in addition to photos, consider a gimbal (basically a selfie stick that keeps a camera steady while shooting video). Lauren Grijalva, full-time RVer and travel blogger at The Wanderpreneurs, uses the DJI OM 5 for all her social media channels. The gimbal helps grab smooth photos, but it also comes with a clip-on tripod for quickly shifting to photo mode.
Shop Camera Tripods
2. Disable auto-flash (and use a clip-on light instead).

Most professional photographers agree: You should never use the auto-flash on your camera phone. This burst of light usually produces poor-quality, pixelated photos and completely washes out your subject—and flash photography is often banned at museums and art galleries anyway. To disable auto-flash, open your camera app, tap the flash icon on the left of the screen (it looks like a little lightning bolt), and select “flash off” (which will be a symbol of the flash with a line through it).
So does this mean you can no longer take photos in the dark? Not at all. Newer iPhones have gotten much better at handling low light, but any phone will still benefit from a little help at night. The best option for more natural-looking lighting is to attach an external flash unit to your phone. Jeremy Scott Foster, Founder and CEO of TravelFreak, recommends the Xinbaohong ring light, which is advertised as a selfie light but can be easily turned around to use for regular photos. “It’s something that can be particularly useful for evening shots where you are enjoying the cultural nightlife, or witnessing beautiful landscapes in the dark,” he says. “It will be the difference between a blurry photo… and a clear and crisp nighttime image that shows the beauty of what you are actually seeing.” Clip-on selfie lights are usually very inexpensive, making this an easy fix for grainy nighttime shots.
Shop Ring Lights
3. Use a remote shutter to achieve next-level selfies.

You’ve probably seen tons of travel influencers post dreamy pics of themselves immersed in nature—perhaps walking down a tree-lined path or gazing out over a canyon. And unless the influencer always travels with an “Instagram husband" or partner, it's highly likely that they achieved those shots using a remote shutter.
Camera remotes tend to be inexpensive and can connect to your phone via Bluetooth. Will Hatton, founder and CEO of The Broke Backpacker, personally recommends the Ashutb Bluetooth 5.0 remote shutter. “It’s essential for the aesthetic ‘walking away from the camera into nature’ photos,” says Hatton. “Since I often travel alone, this purchase has served me well in my quest to take photos of myself on adventures.”
Shop Remote Shutters
4. Control your camera with your Apple Watch or EarPods.

You may be aware that pressing the volume buttons on the side of your phone can click photos when your Camera app is open, but did you know that trick also works with the volume buttons on your Apple EarPods? Street photographer Todd Coleman loves to take photos this way, explaining that it “helps in low light situations so that there isn’t a camera shake.”
All you have to do is plug in your EarPods, open the Camera app, and push either the volume up or volume down button on the cord to snap the photo. Not only does this technique help with shakiness, but it’s also great for candid shots, as people around you will just think you’re listening to music and not fiddling with your screen. “It has really freed me up and transformed my travel photography,” says Coleman.
If you don't want to deal with wired headphones on the fly, you can also use an Apple Watch to snap photos with your iPhone. You'll just need to open the Camera Remote app on your watch. From there, you'll be able to utilize your watch as a viewfinder, zoom in on your subject, or even adjust exposure—and trigger your iPhone to take the shot.
Shop EarPods & Apple Watches
5. Convert Live Photos into long exposure shots.

If you’ve ever seen a photo where moving objects (like clouds, waterfalls, shooting stars, and car headlights) look smooth or smeared, it was probably taken with long exposure—a technique that slows down the shutter speed to make still objects appear sharp and moving objects appear blurry. It’s a popular way to imbue life into photographs, and you can easily mimic the style on your smartphone.
There are a few third-party camera apps that slow down your phone’s shutter speed—like Slow Shutter Cam, ProCam 8, and Camera+ Legacy—but you can convert Live Photos to long-exposure photos in just a few seconds and at no additional cost. Aside from showing movement in shots of water or night skies, photographer Sam Opp says the trick “also works well if there are a lot of people walking around that you don't want in the photo. Long exposure will make them more blurry and not the main focus in your photo.” (Check out her Instagram tutorial to see what she’s talking about!)
Follow these steps to convert Live Photos into long-exposure photos: Open the Camera app and turn on Live Photos (an icon in the top left of your screen that looks like a little target). Take a photo—preferably with a tripod for the best, least shaky results—then open the Photos app and find the shot you just took. Either swipe up to reveal “Effects” or tap the drop-down menu next to “Live” at the top of the photo (depending on your phone model) and select “Long Exposure.”
6. Zoom in on your surroundings with an external lens.

While the latest iPhone models have three lens options (wide, ultra-wide, and telephoto), earlier models don’t have a built-in telephoto lens, which means zooming in even a tiny bit drastically reduces your photo quality. If your travels will require photographing objects from a distance (going on a safari, visiting the Grand Canyon, etc.), or if you'll want to photograph tiny objects up close (small sea shells, flowers, insects, etc.) it’s worth investing in a high-quality external lens.
After hearing great things about Moment’s line of smartphone lenses, I decided to buy the Moment Tele 58mm Lens (which provides 2x zoom) for a trip to Yellowstone in early 2020. It helped me take photos of landscapes and wildlife that I was super happy with, especially when comparing them to the blurry zoomed-in pics my phone usually takes. All of Moment’s lenses require a special phone case, but once you get that you can easily clip on each lens and switch them out in a couple of seconds if needed. And if I ever upgrade to an iPhone with a built-in telephoto lens, I can position this over that third lens to achieve 4x zoom, which is pretty incredible.
Shop Moment Lenses
7. Turn on Smart HDR for detailed, well-balanced photos.

“One of the easiest ways to improve photo quality is using the automatic HDR function,” says Rick Wong, editor-in-chief of Cameras Trends. When an iPhone is in HDR (high dynamic range) mode, it takes several photos at different exposures and blends them into one image, which “ensures that the exposure of the photo is ideal,” says Wong. This is particularly useful if you are trying to capture scenery with lots of shadows or different lighting levels within a single frame. If you don’t have HDR turned on, then you might get—for example—a nature shot with a dark foreground and a completely washed-out sky with no cloud details.
While you can manually control whether or not a photo is taken using HDR, it's a good idea for beginner photographers to set their phone up to do this automatically. Go to Settings > Camera, then toggle on Smart HDR. Voila! Your travel photos are now much more likely to show beautiful details and coloring.
8. Enable grid lines for easier composition.

In the world of photography, the “rule of thirds” refers to a type of composition in which a frame is divided into thirds (both horizontally and vertically) and the subject is placed at the intersection of those grid lines. This creates a final photo where the subject occupies roughly one third of the frame, while the surrounding scenery or background occupies the other two thirds—generally considered to be a visually pleasing composition.
To help with your own photo composition, you can choose to have very light grid lines appear on your Camera app every time you open it. Go to Settings > Camera, and toggle on Grid under Composition. The grid lines will also help you keep your phone level so your landscapes don’t come out crooked.
9. Get a waterproof case for underwater photos.

While many new smartphones are water resistant, they’re not meant to survive a dive into the ocean. Having said that, it is totally possible to take underwater photos with your phone if you use a little extra protection.
If you'll be snorkeling or swimming (and not, for example, diving), you should be fine with a simple waterproof phone case, like the extremely popular Joto Phone Pouch. It can fit nearly all smartphones, and the clear windows still let you use your phone’s touchscreen to snap photos up to depths of 100 feet. This kind of phone pouch can also be comforting to have if you're doing water-related activities where there's a risk of dropping your phone, such as kayaking or paddle boarding.
For peace of mind, make sure you do the “tissue test” before dunking your phone in the water. Simply put a piece of tissue into the phone case, submerge it in water, and make sure the tissue emerges completely dry. Once you're sure the phone case works properly, seal up your phone and indulge in some cool underwater photography.
Shop Waterproof Cases
10. Capture tall scenery with vertical panoramas.

Struggling to capture the entirety of a building, tree, or mountainside? Eva Phan, blogger and professional photographer at Eva Darling, suggests taking a vertical panoramic photo to fit everything in the frame. Simply switch your camera to panoramic mode (it will appear as “Pano” at the bottom of the app) and hold your phone horizontally. Then, instead of moving left to right like you normally would in panoramic mode, move the phone from the ground towards the sky. You’ll end up with extended portrait-mode photos that show towering trees or landmarks all the way from bottom to top.
11. Manually adjust exposure on the Camera app.

“One simple way to take better travel photos with your iPhone is to learn how to use exposure compensation to your advantage,” says Rex Freiberger, co-CEO and editor of Gadget Review. “This tool adjusts how light or dark a photo is before you take it, but sometimes the automatic adjustments don't perfectly capture certain outdoor scenes.” To manually adjust the exposure, open the Camera app, tap the screen, and wait for a yellow box with a sunshine icon to pop up. From there, simply slide your finger up and down on the screen to test different exposure options.
12. Turn your phone upside down for low-angle photos.

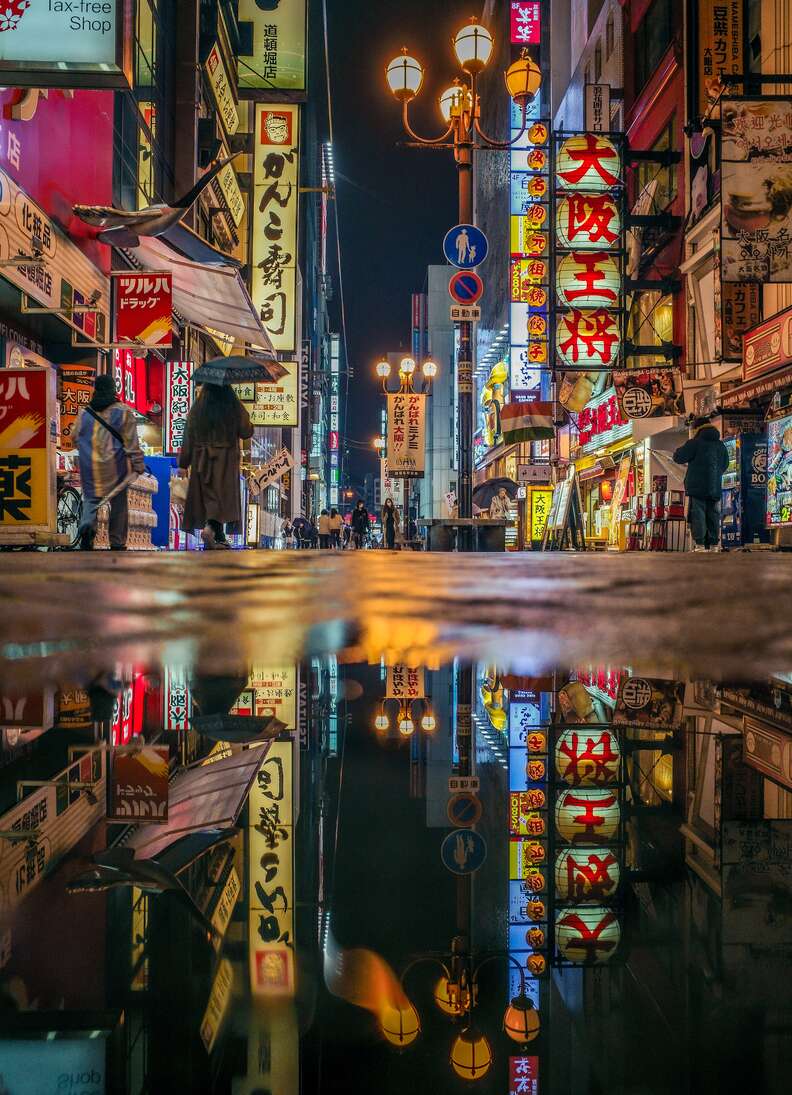
“One of the techniques I’ve used to get unique images with an iPhone is shooting from a low angle with the phone upside down,” says Sean Lau, travel photographer and blogger at LivingOutLau. Since an iPhone’s camera lenses are positioned at the top of the phone, it’s hard to get a super-low angle even if you lay with your phone upright—flipping your phone means the camera is flush with the ground. “This is perfect for taking reflection photos where there is a puddle of water on the ground,” says Lau. “This type of photo is usually very difficult to get with a traditional DSLR camera, but the portability of the iPhone makes it a lot easier.”
13. Shoot outdoors during golden hour.

While using ring lights and playing around with exposure are great tools, nothing can fully replicate the photographic magic of natural sunlight—especially during the “golden hours” right after sunrise and before sunset. “The magic hours of early morning or dusk are just as effective when shooting with your iPhone as a big impressive Nikon,” says Garrett Hayes, an avid bird photographer and founder of Birding Hub. Utilizing the soft, warm light of these time windows (as opposed to the harsh, unflattering light of high noon) will result in beautiful shots that don’t require any filters. Before your next trip, download the Golden Hour app to get location-specific recommendations for the best times to go out and snap some photos each day.
14. For food photography, use natural light and play with composition.

Visiting new restaurants is one of the best parts of traveling. But taking ‘gram-worthy photos of your meals? That can be a pain. Culinary photography is its own beast that takes tons of practice (and perfect lighting), but New Orleans-based food photographer Vieta Collins has a few helpful tips that are super easy to replicate.
First of all, Collins stresses that “food looks best in natural light, not artificial,” so ask to be seated near a window if you’re dining out. She also recommends using the camera grid lines (see tip #10) for overhead shots that don’t look warped or askew.
But most of all, play around with plating and rearrange items on your table to create a fun image bursting with life. “The overall composition of your photo is just as important as the food itself,” says Collins. “Utilize your silverware and napkins. Incorporate hands and have people hold things as well.” She also suggests letting some plates hang out of the frame to make the table look pleasantly cluttered, because “busy tables are always more interesting.”
15. Be sure to pack a portable phone charger.

“Having a portable battery to take with you is vital, mainly if you use your phone for pictures,” says Ally Wardrop, owner of Cafes and Getaways. Using the Camera app drains battery life quicker than many other phone functions, and “the last thing anyone wants is to miss out on capturing a special moment because their phone has died!”
Wardrop personally vouches for this Anker power bank, which currently has over 58,000 five-star reviews on Amazon. It is small enough to slip into your backpack or carry-on bag, and the manufacturer claims it has enough juice to charge an iPhone 11 at least four times.
Shop Portable Chargers
16. Edit your images with a photographer-approved app.

Now that you know the ins and outs of your Camera app, it’s time to learn how to edit photos. You could spend years watching Photoshop tutorials or taking online photography courses, but there are tons of editing apps that make transforming your photos easy and intuitive.
When we asked photographers for app suggestions, a vast majority were quick to sing the praises of Adobe Lightroom. “It’s amazing how professional the photos come out,” says Isabella Biava, travel blogger at Boundless Roads. “I would suggest [you] start from one of the included presets and then adjust the light or vibrancy according to the final results you want to achieve.” The app is free, but you can pay a monthly fee to unlock all the premium features.
Other great editing apps are Adobe Photoshop Camera, VSCO, Snapseed (my personal favorite), and Afterlight.


